Sign In / Sign Up
 Orders
 Product Keys
 Downloads

 Go to United States of America - English (USD)
Complete Setup Guide for Windows Server 2019
After preparing a bootable USB drive, follow these instructions for a clean installation:
- Start your server normally, insert the Windows Server USB, and then restart the server.
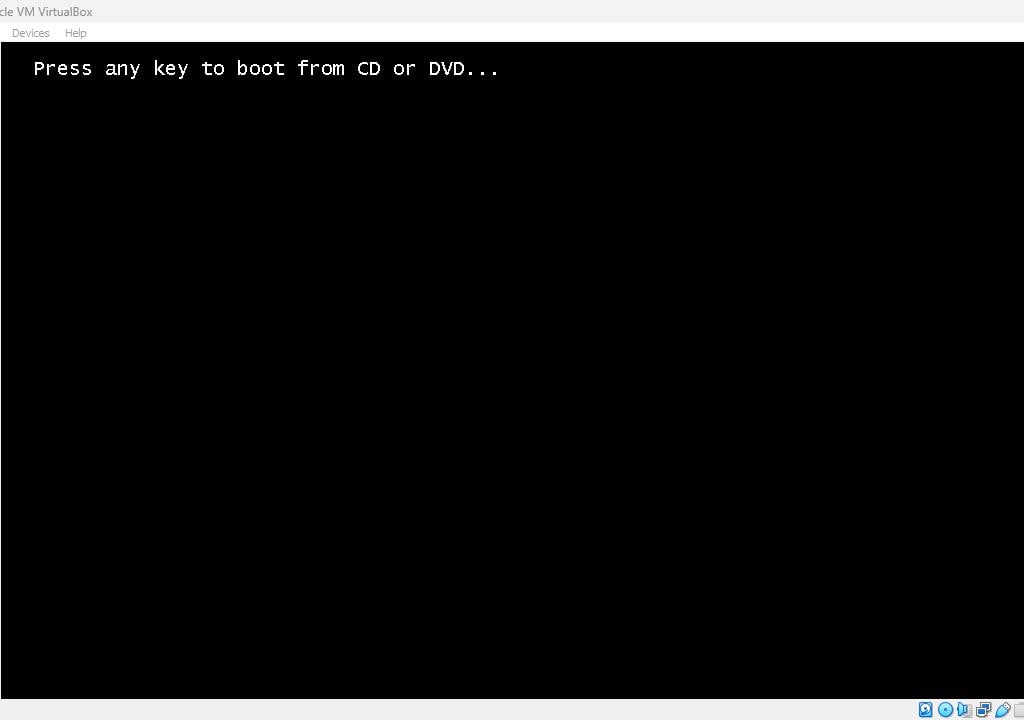
- Your device will boot from the USB. Press any key when prompted with Press any key to boot from CD or DVD.
- Restart your server and look for the BOOT menu key (usually F2, F10, F11, F12, or Del) to access the menu.
- Set the boot order to USB.
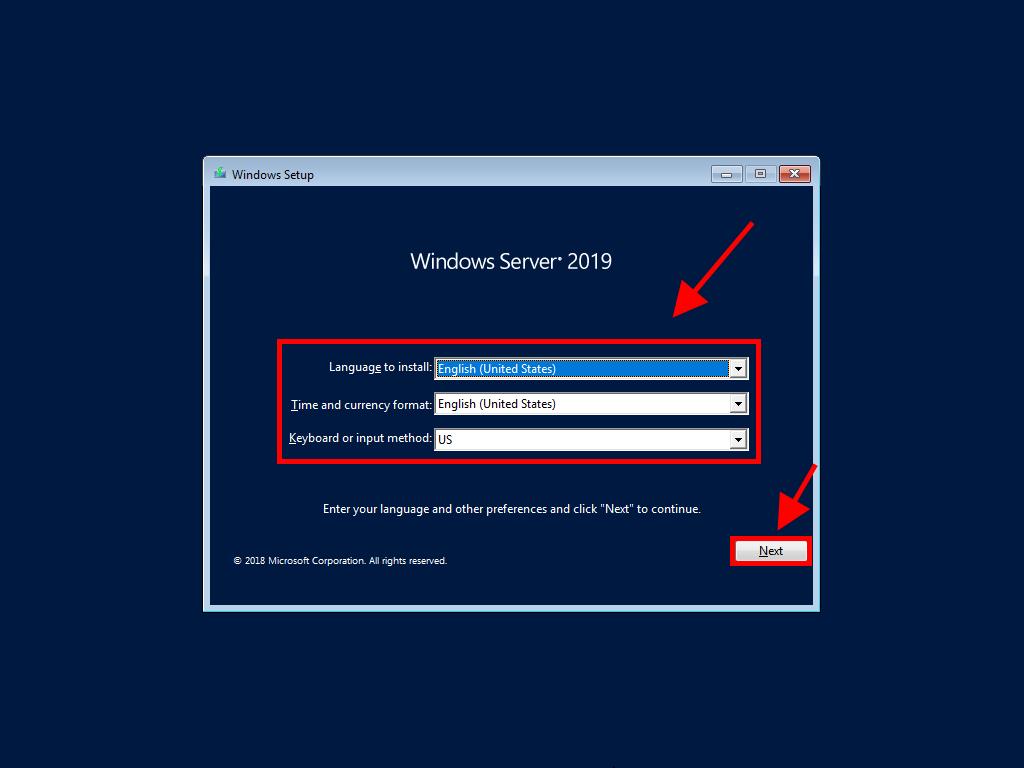
- In the setup programme, select your language, time, currency format, and keyboard or input method, then click Next.
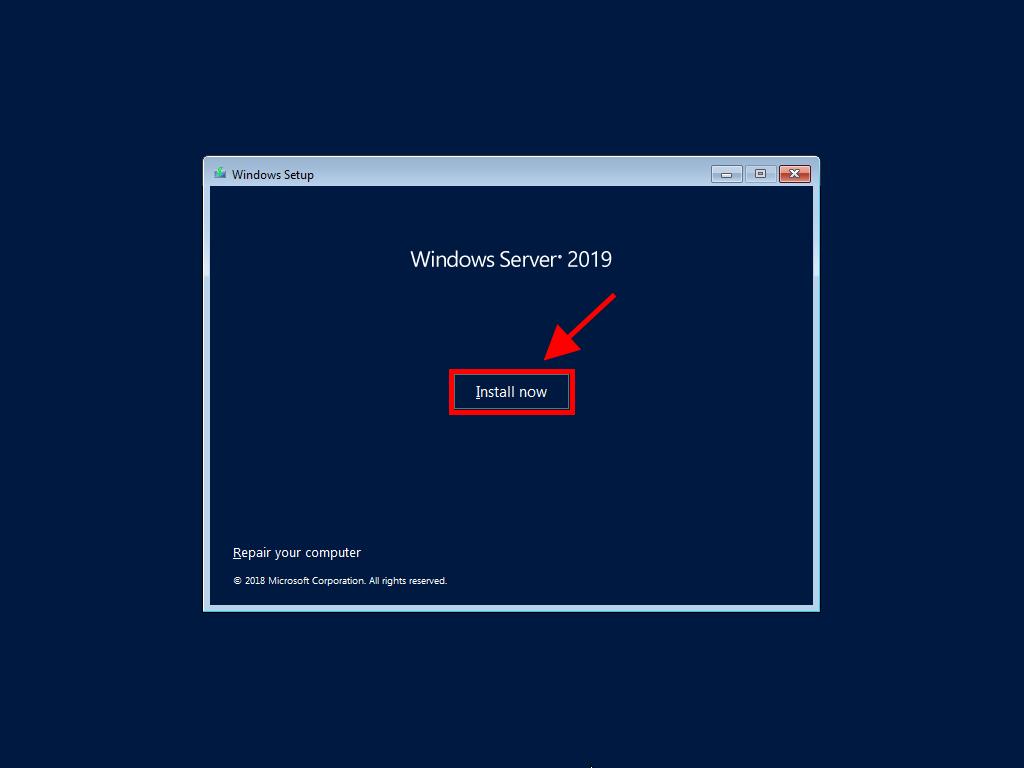
- Click Install now to begin the process.
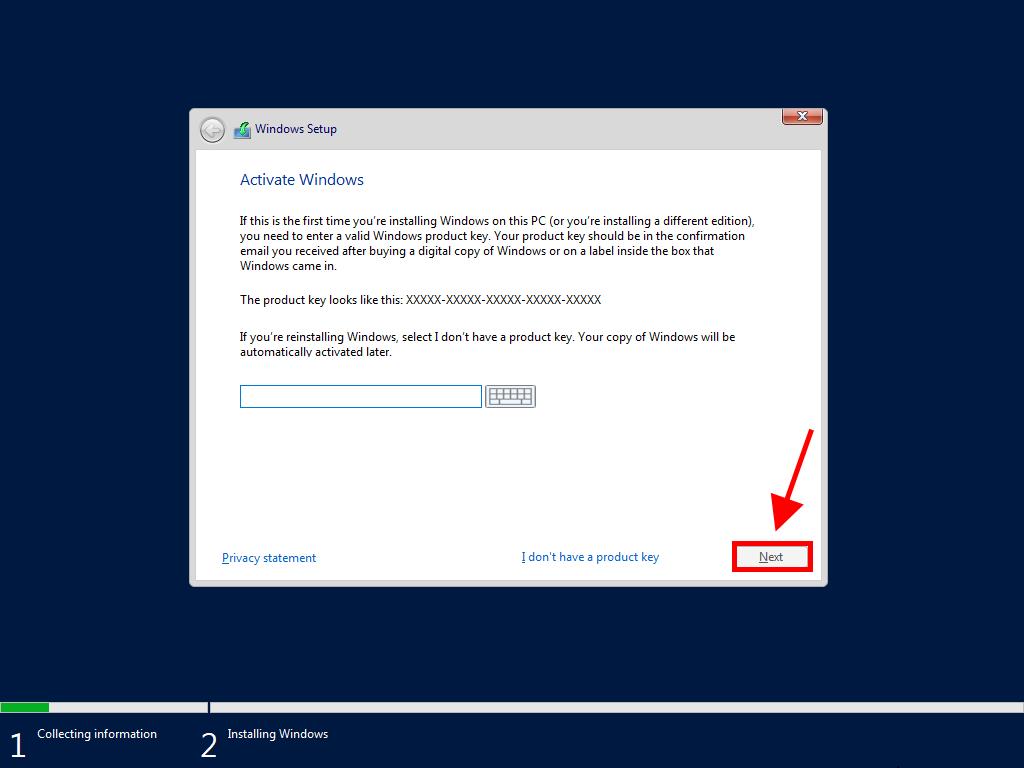
- Enter your product key and click Next.
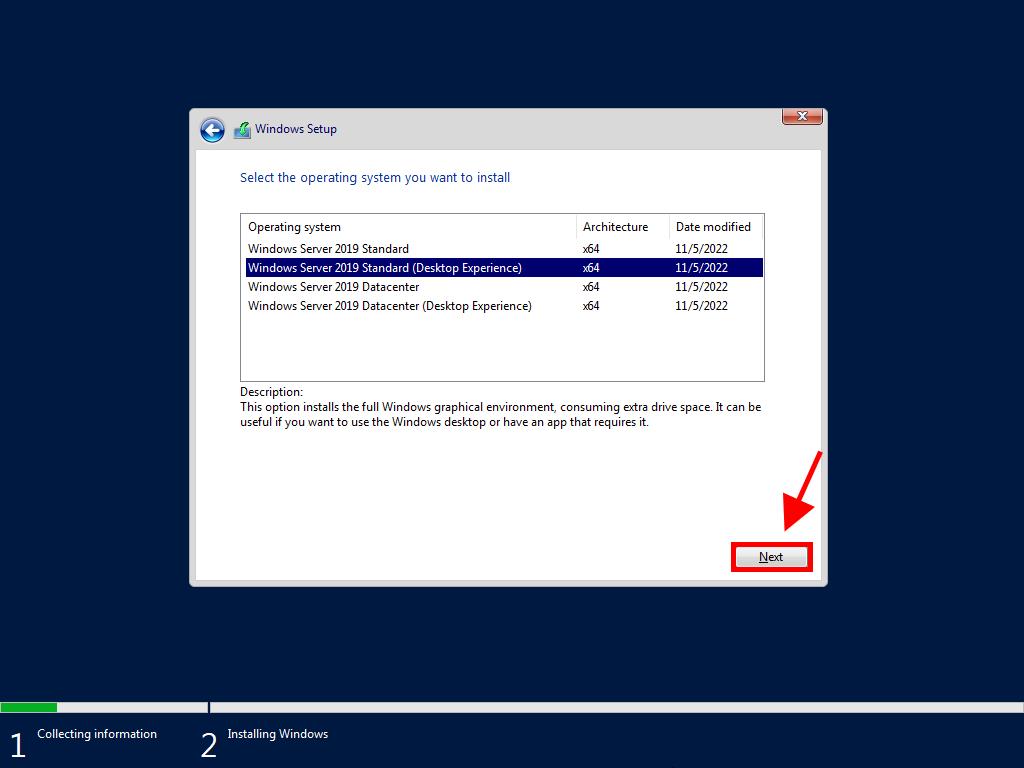
- Select the edition (Desktop Experience) and click Next.
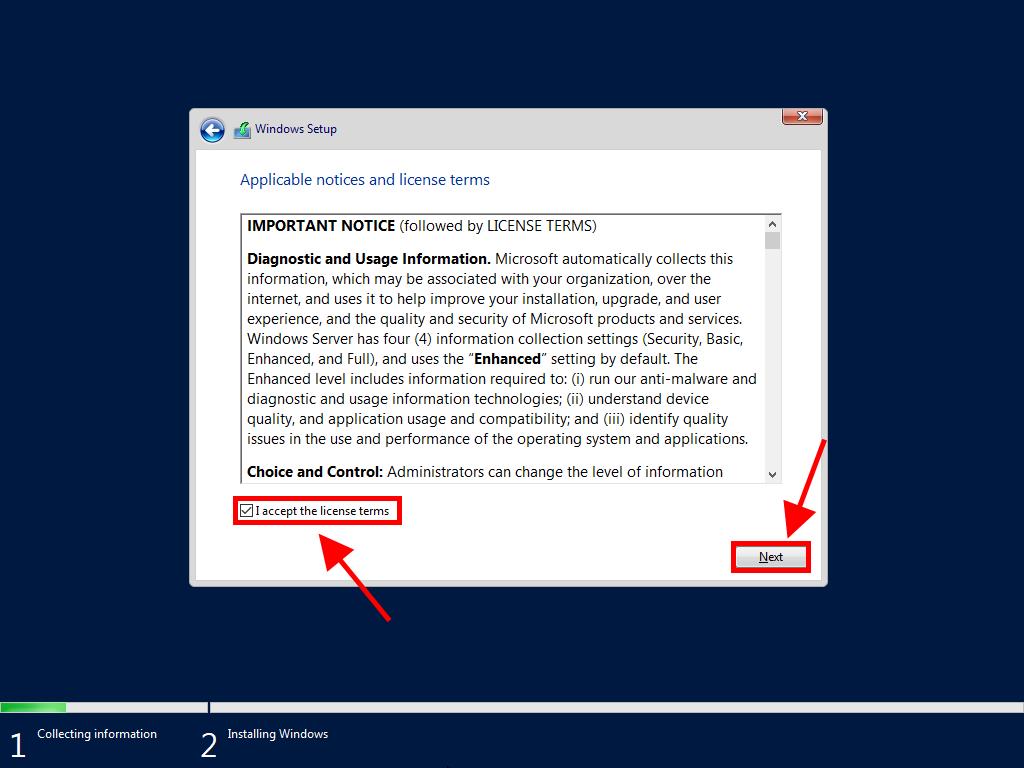
- Accept the license terms and click Next.
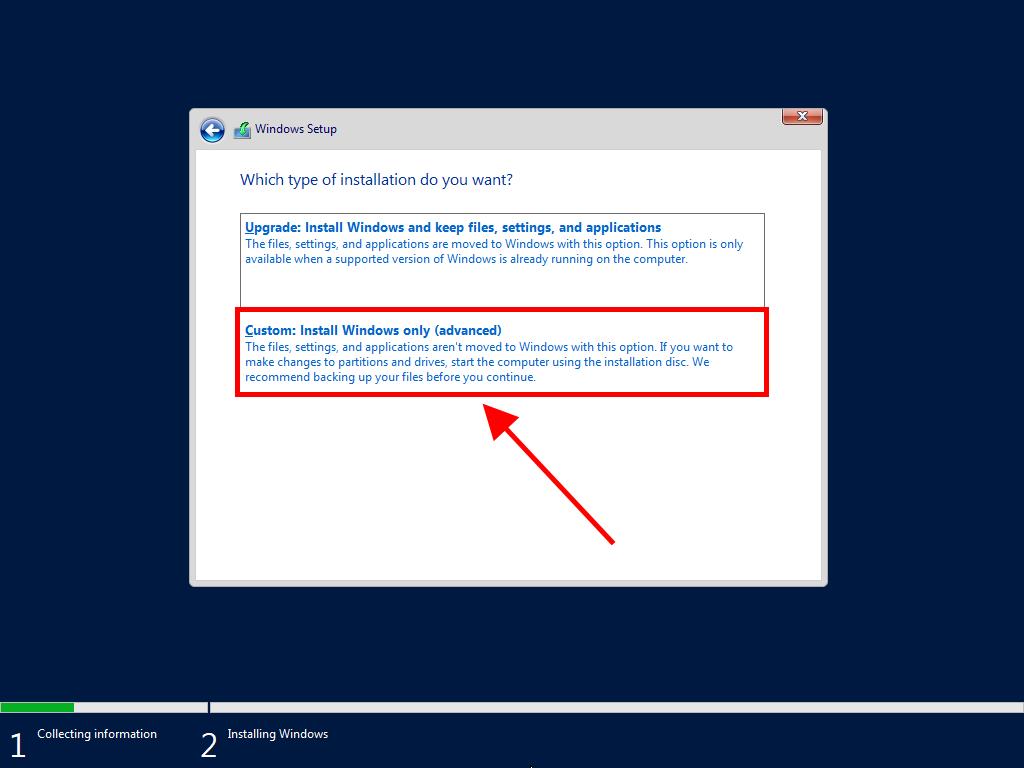
- Select Custom: Install Windows only (advanced) in the next step.
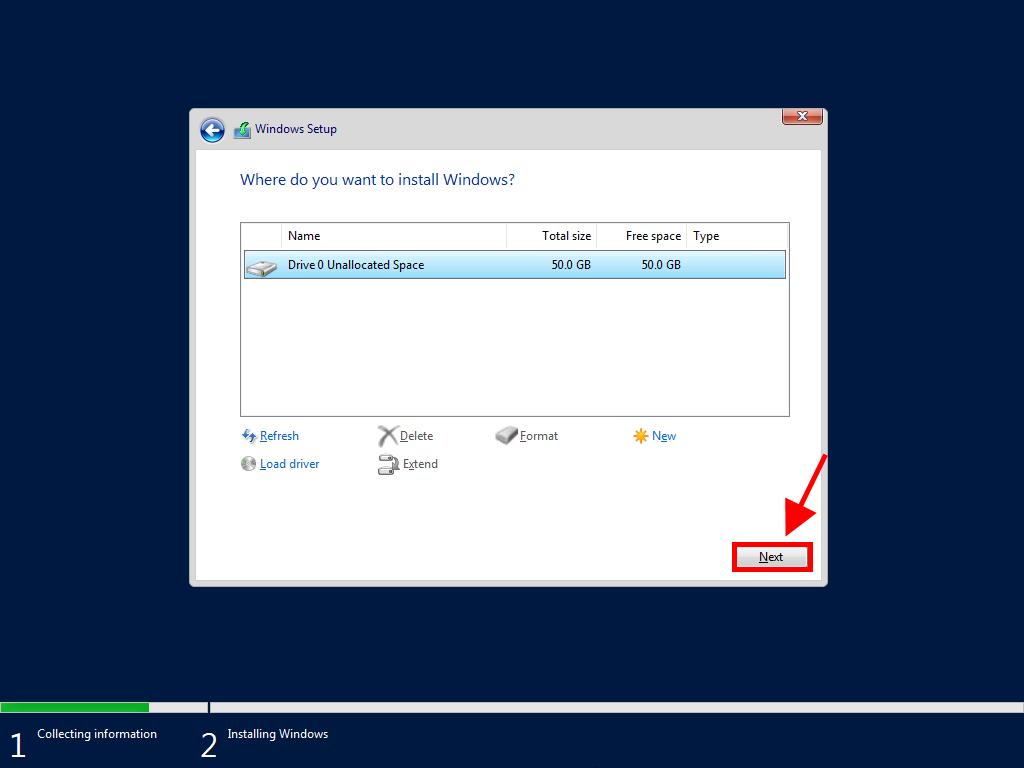
- Select the drive where you want to install Windows Server and click Next.
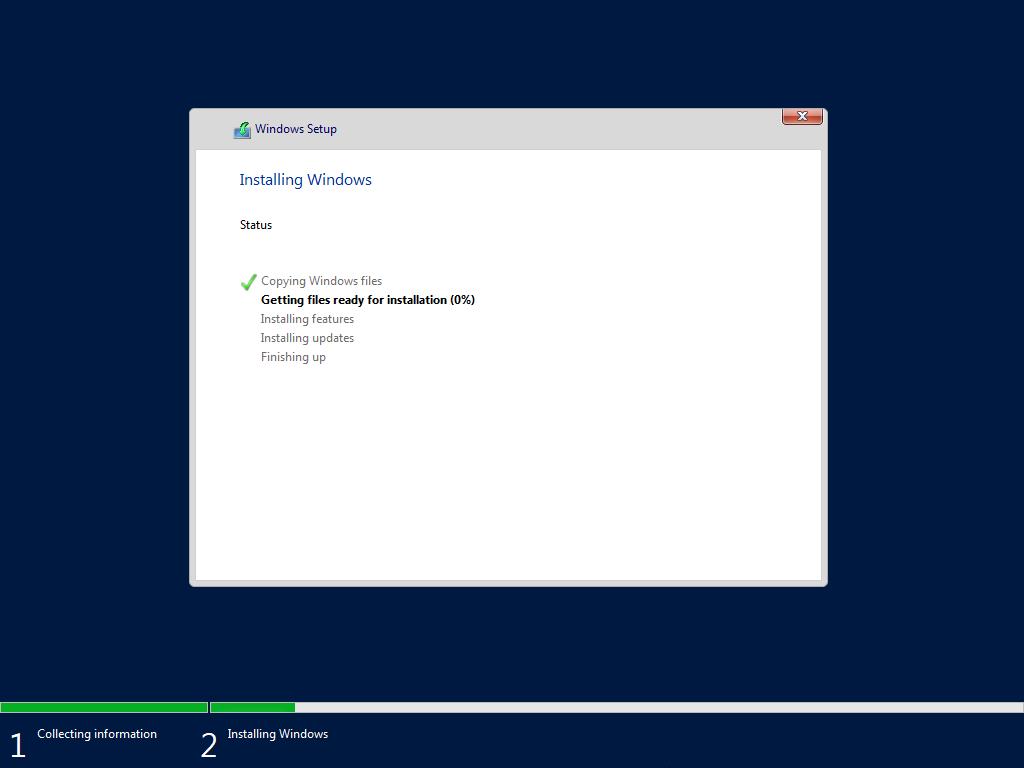
- The installation process will commence. This will take several minutes.
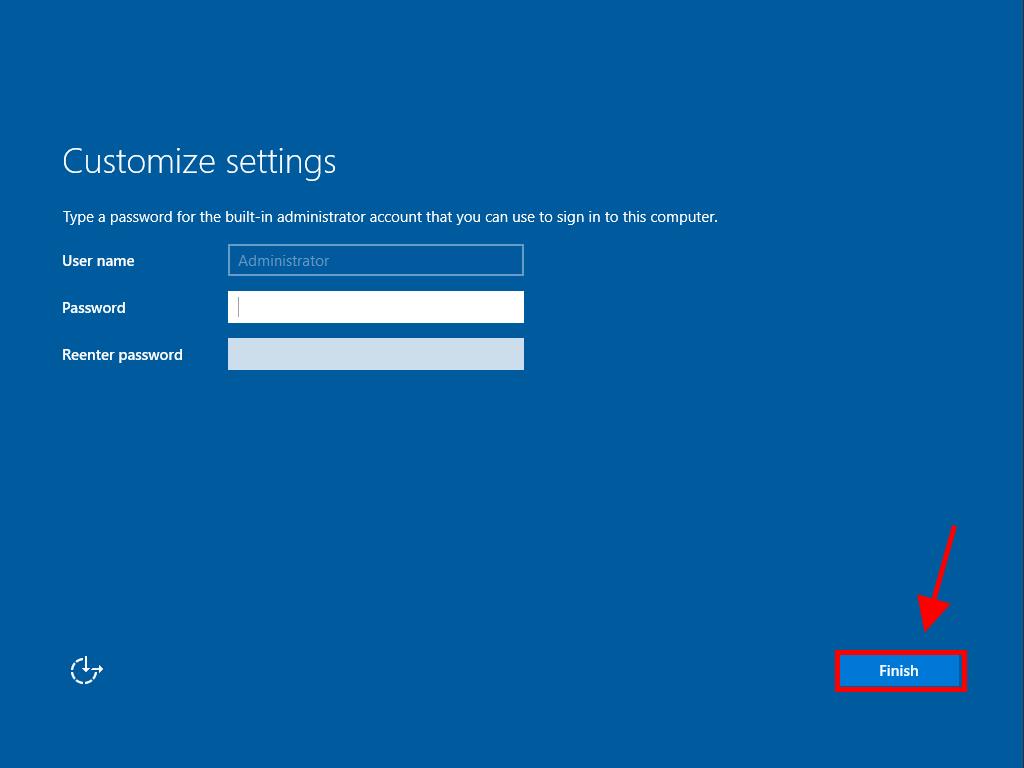
- Next, set a memorable password and click Finish.
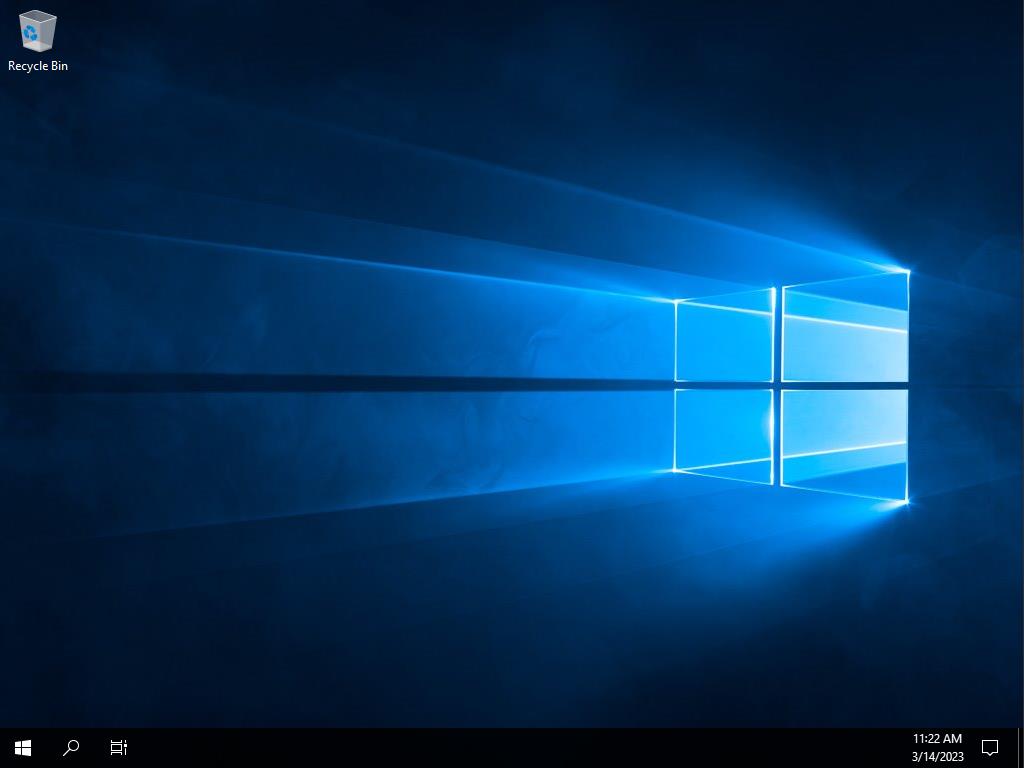
- Finally, press Ctrl+Alt+Del and enter your password. Your Windows Server desktop will appear.
Note: If the installation doesn’t start, change the boot order in your BIOS settings to prioritise USB booting.

Note: We recommend deleting all partitions on the drive for proper operation. If the drive is new, simply click next.