Sign In / Sign Up
 Orders
 Product Keys
 Downloads

 Go to United States of America - English (USD)
How to Install and Activate RDS CALs on Windows Server 2019
To set up the Remote Desktop Licensing role service and Remote Desktop Session Host, follow these instructions:
Setting Up Remote Desktop Licensing Role.
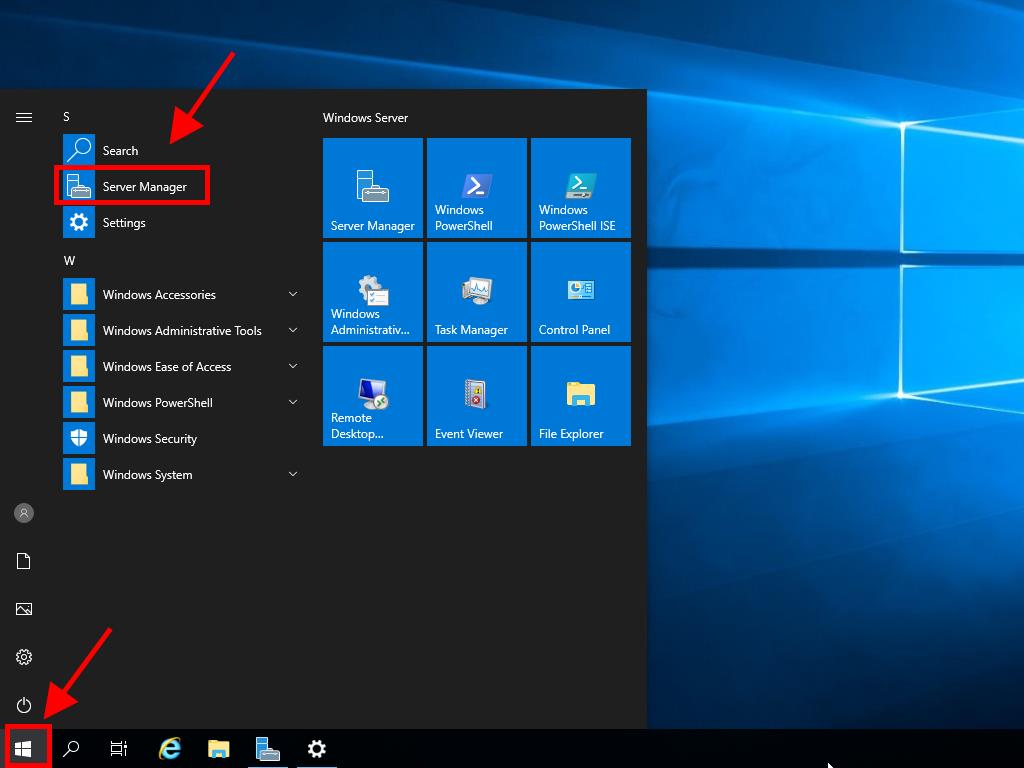
- Launch the Server Manager. To do this, click on the Windows icon and select Server Manager.
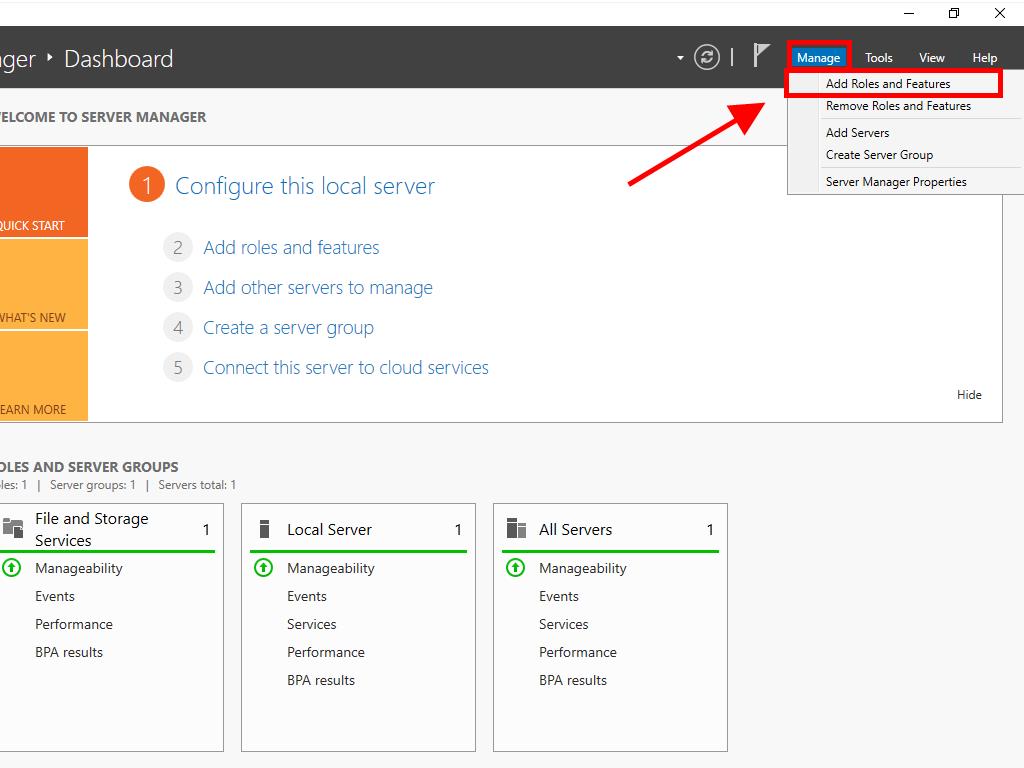
- Click on Manage in the upper right corner, then choose Add Roles and Features.
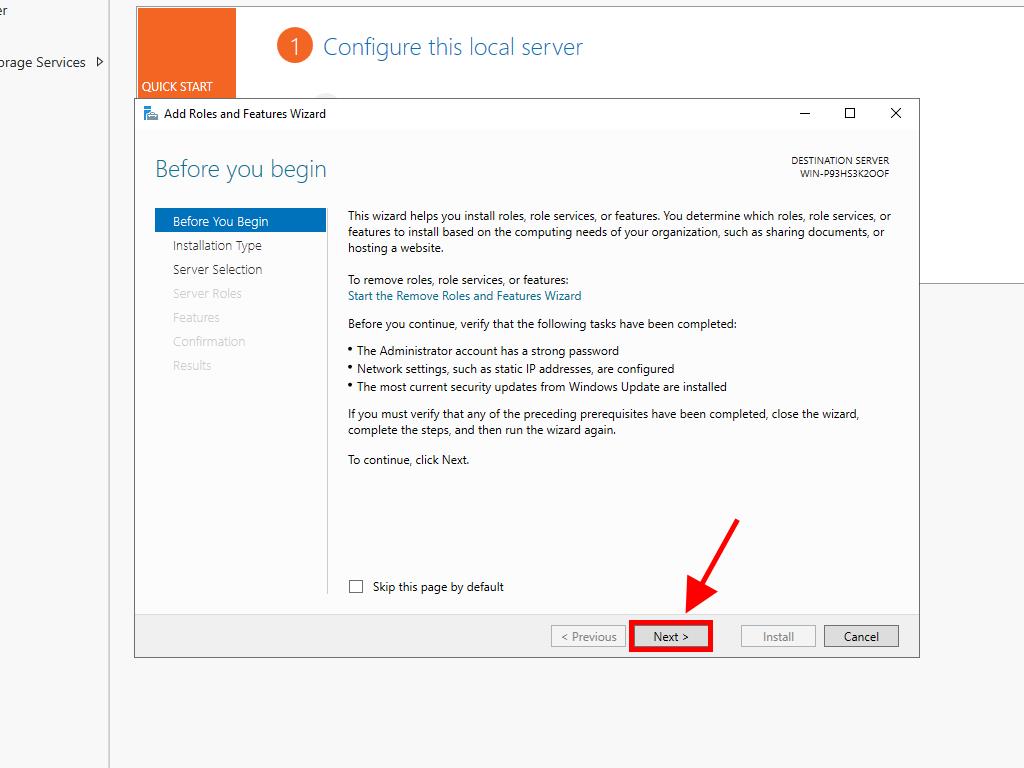
- In the Add Roles and Features Wizard, click Next.
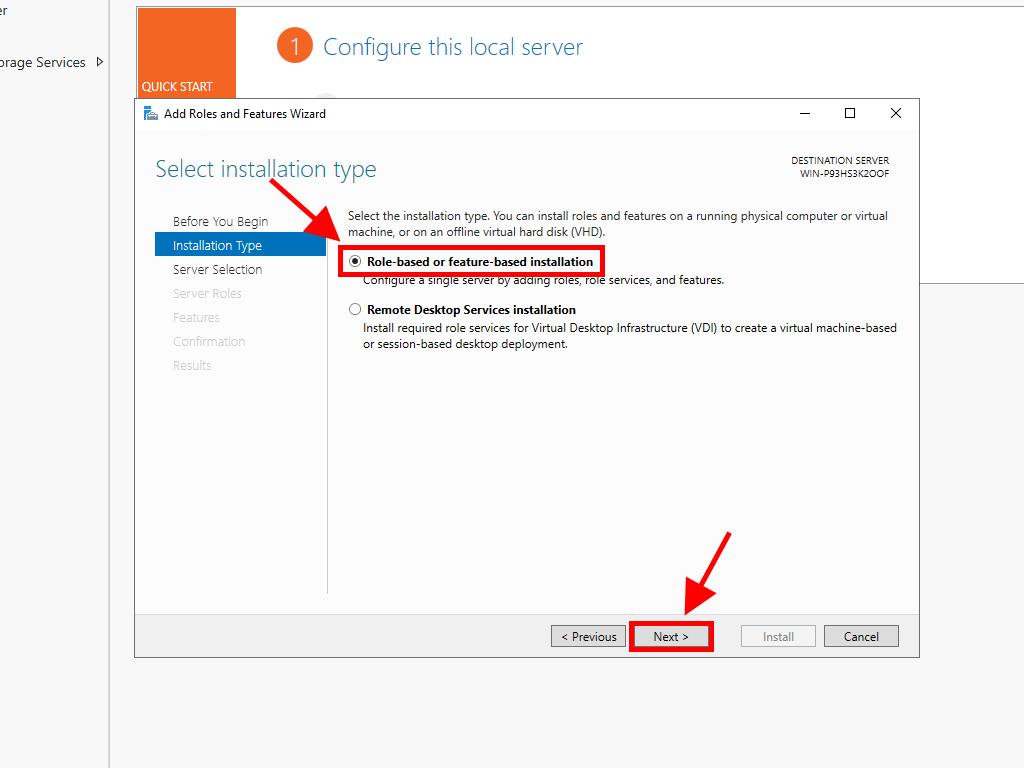
- Choose Role-based or feature-based installation and click Next.
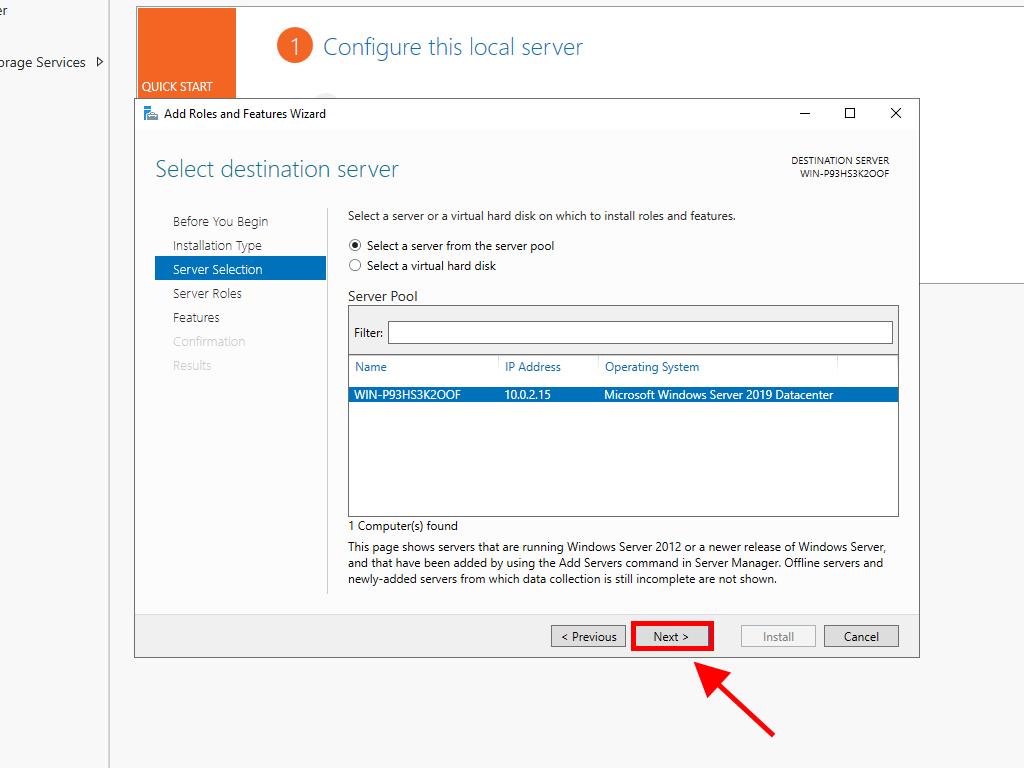
- Select the server that will have the roles installed and click Next.
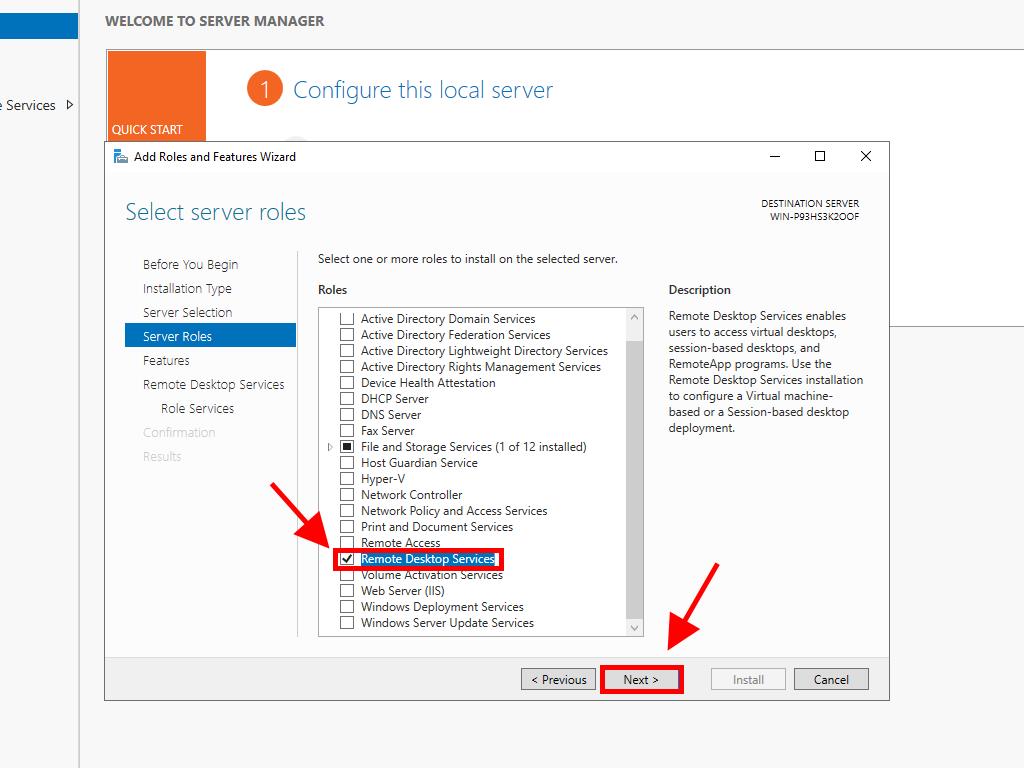
- On the Select Server Roles page, check the Remote Desktop Services box and click Next.
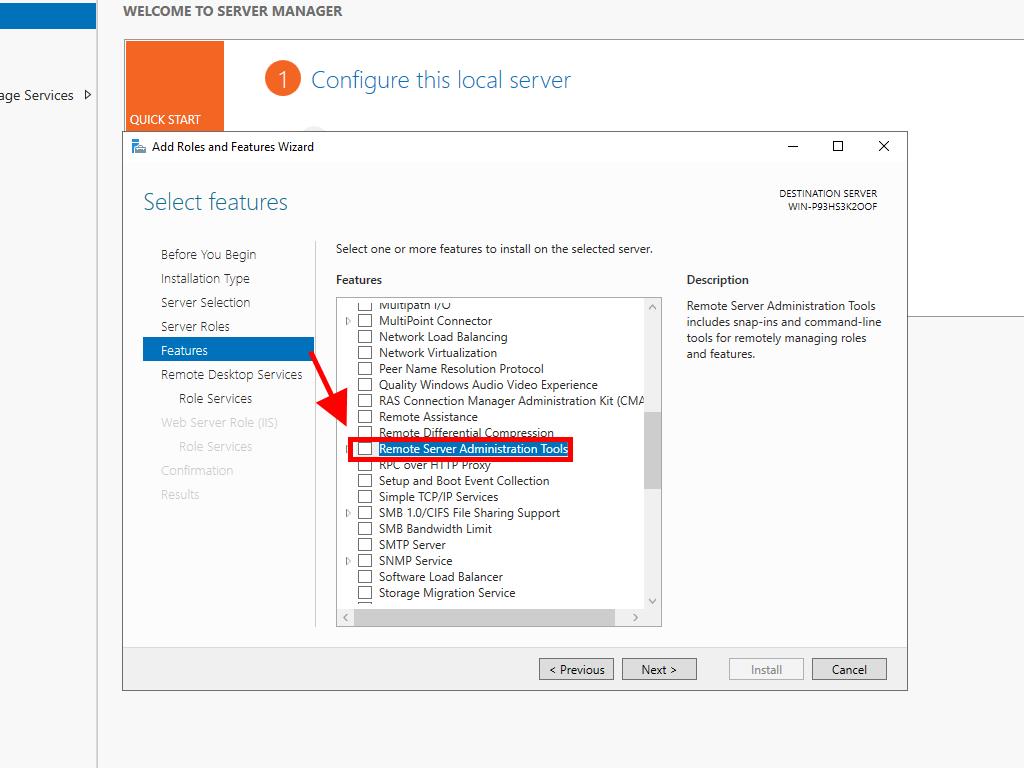
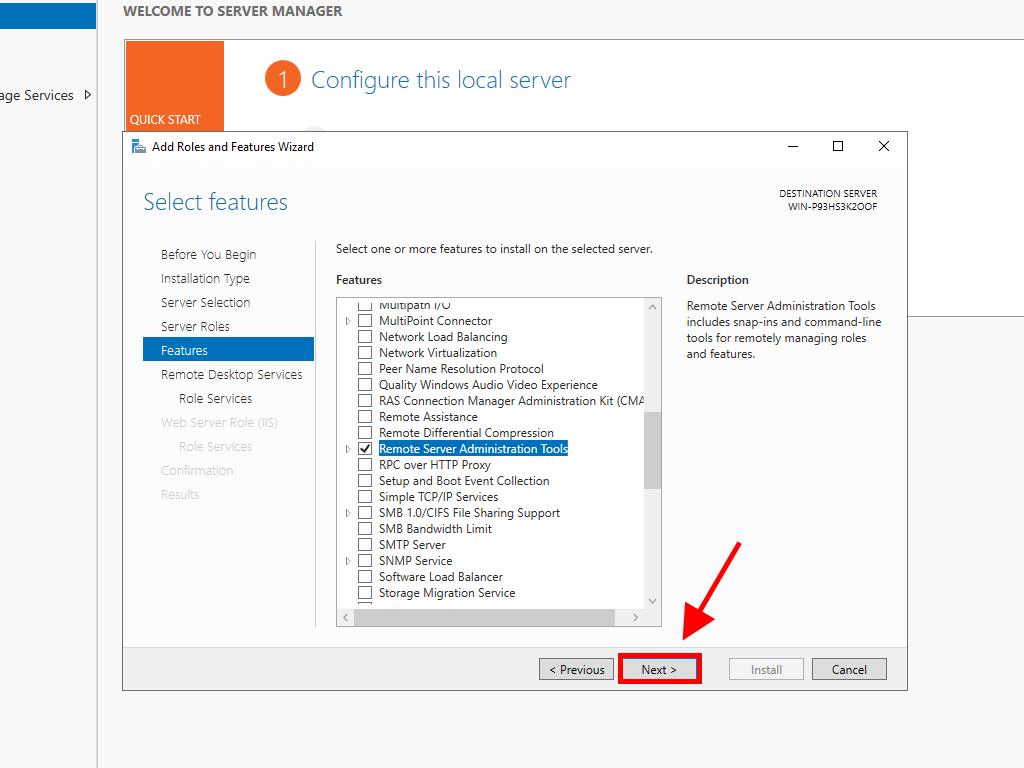
- On the Select Features page, check the Remote Server Administration Tools box.
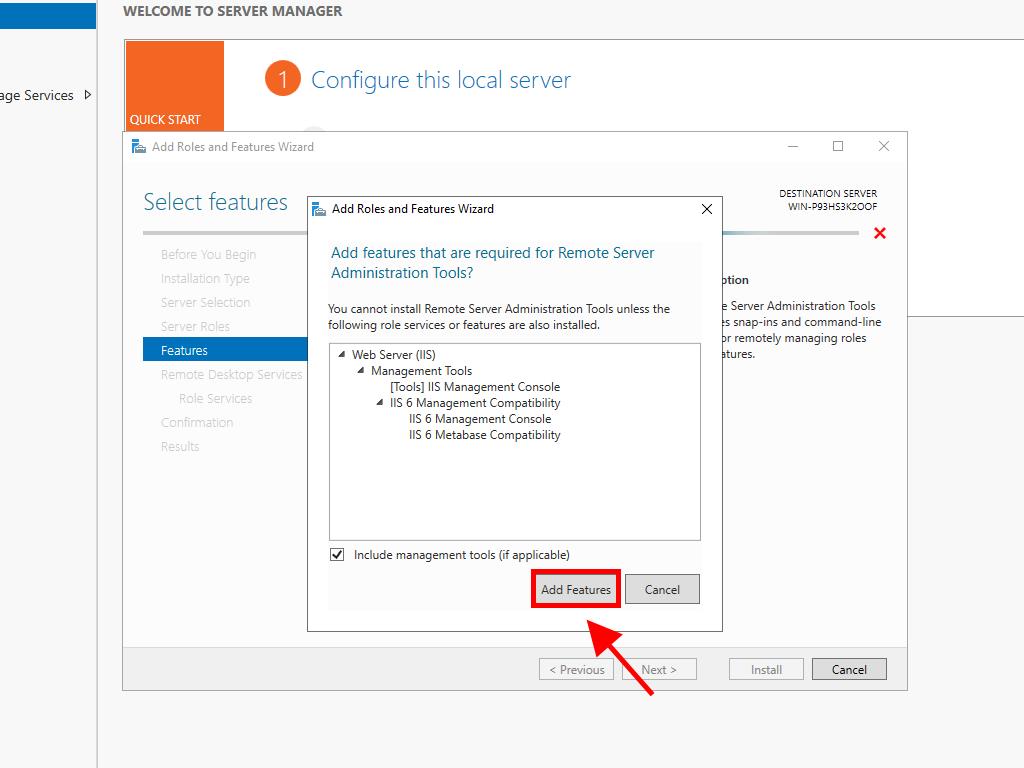
- Click Add Features.
- Then click Next.
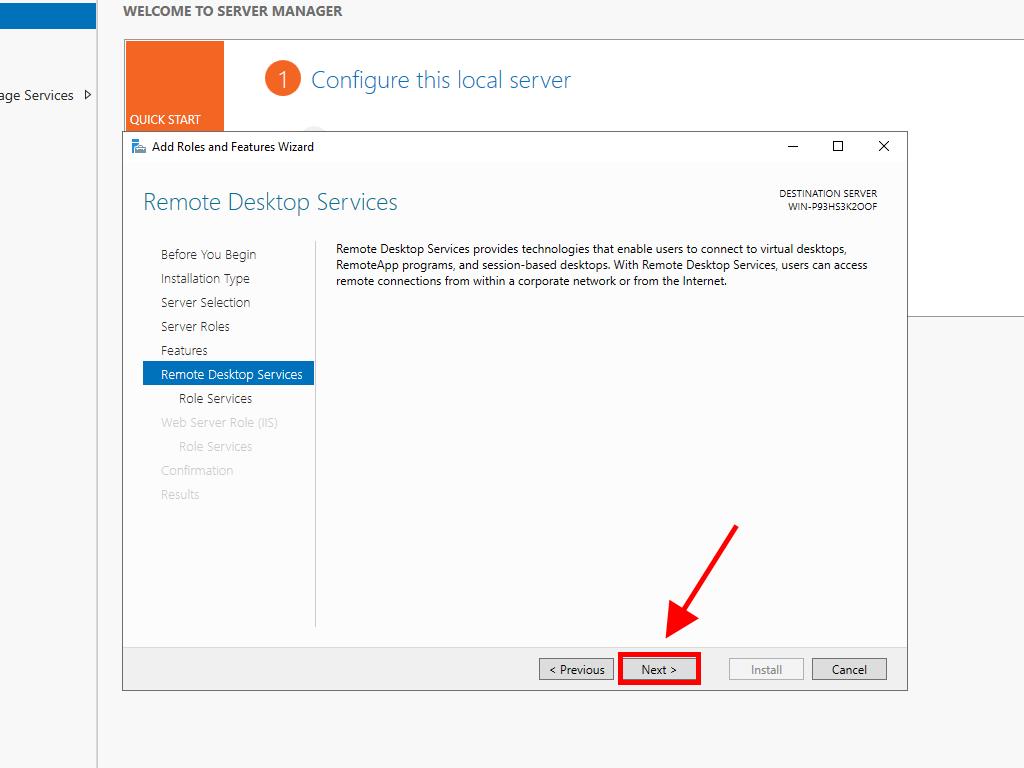
- Click Next again.
- In the next box, check the boxes for Remote Desktop Licensing Management and Remote Desktop Session Host, then click Next.
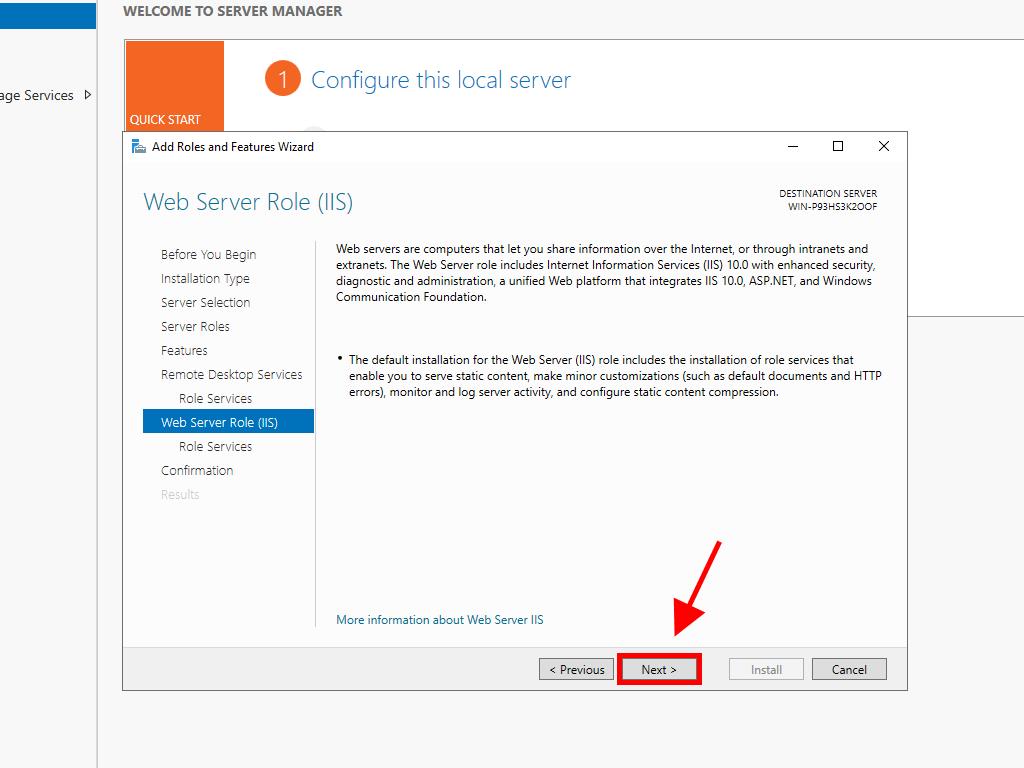
- In the Web Server role step, click Next.
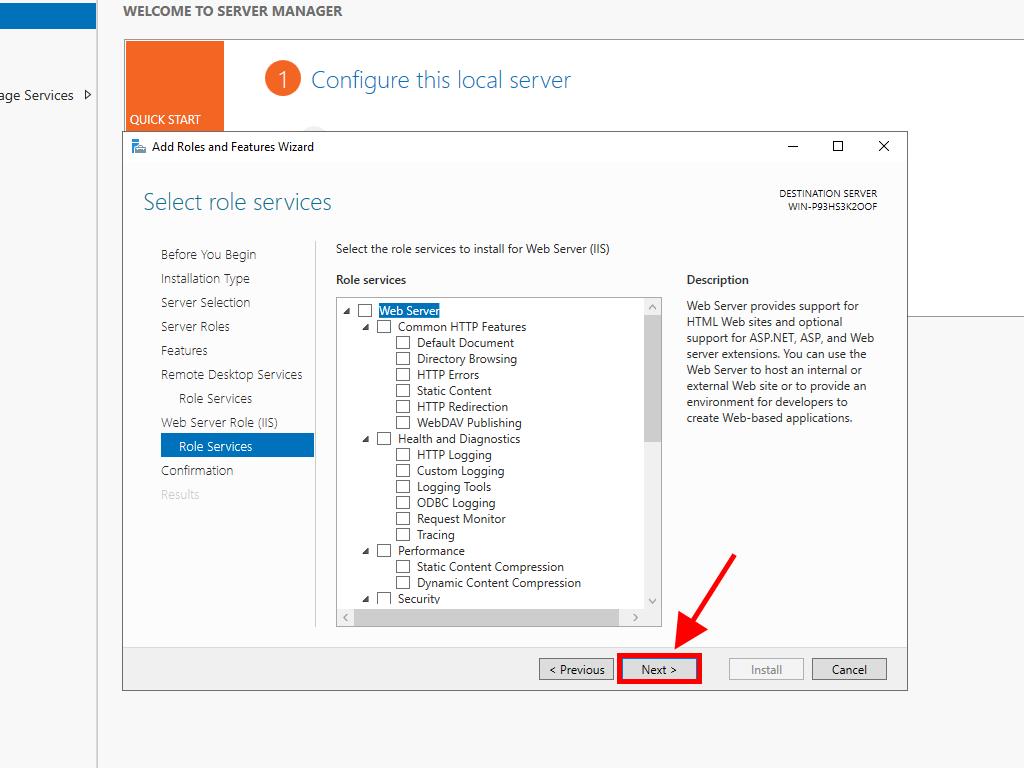
- In the Select Role Services option, click Next.
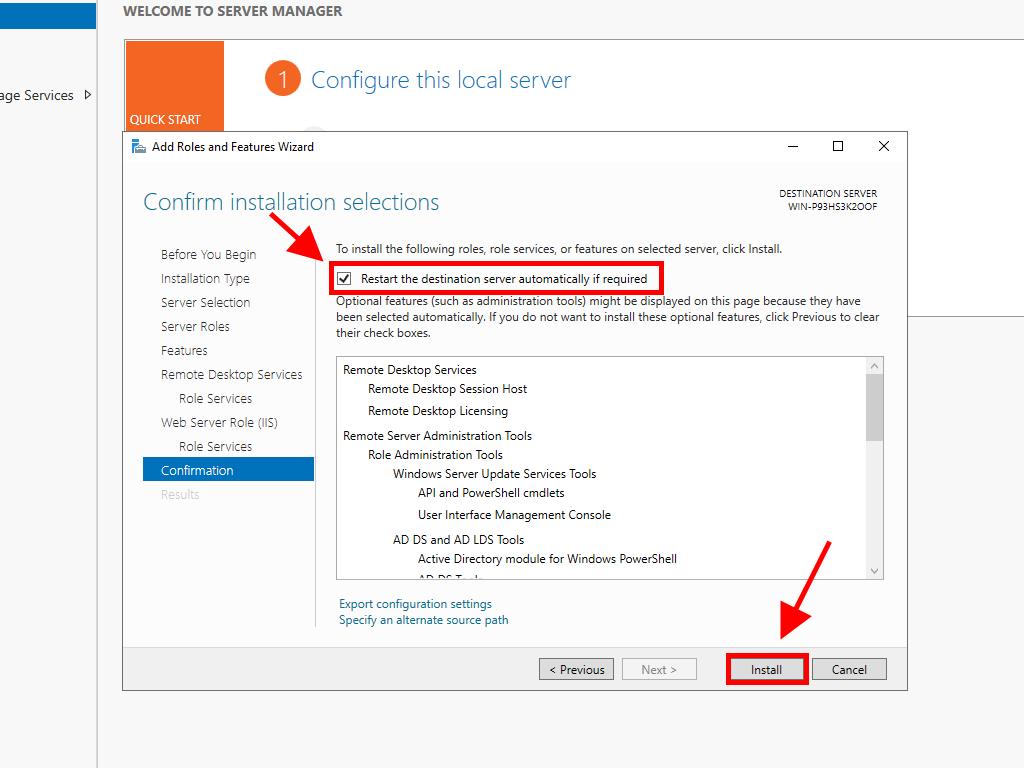
- Tick the box for Automatically Restart the Server and click Install. Wait for the roles to be installed.
- Once the roles are installed, move to the next step to configure your remote desktop service.

Activating the Licensing Server
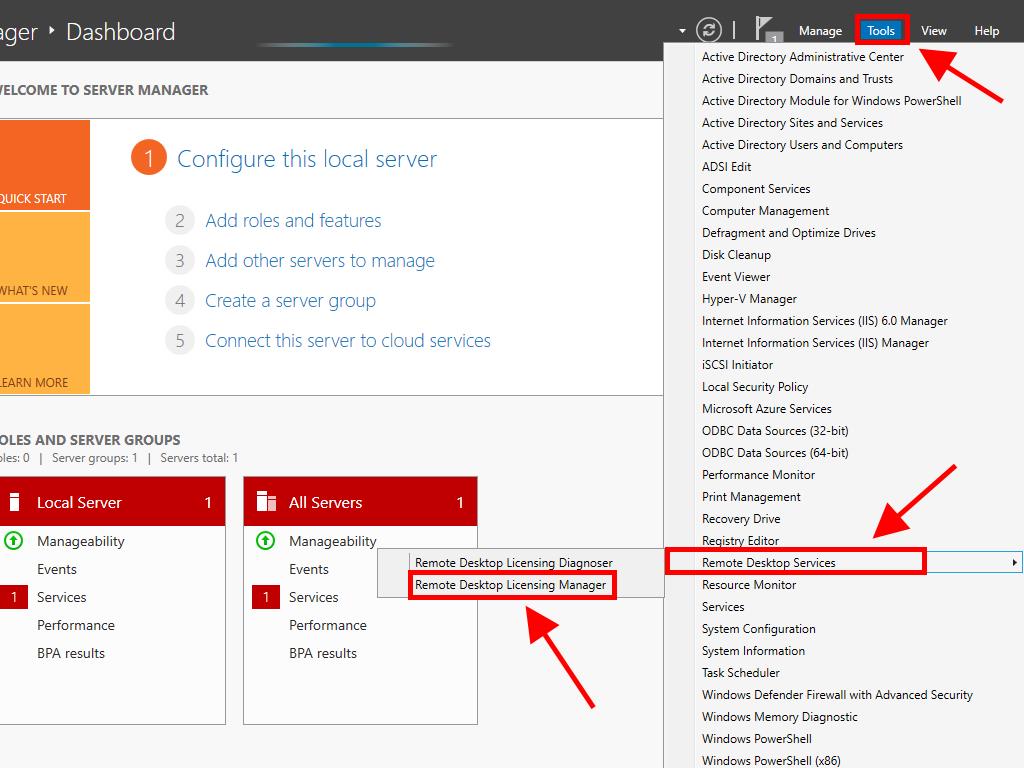
- Click on Tools in the top right corner, then choose Remote Desktop Services and click Remote Desktop Licensing Manager.
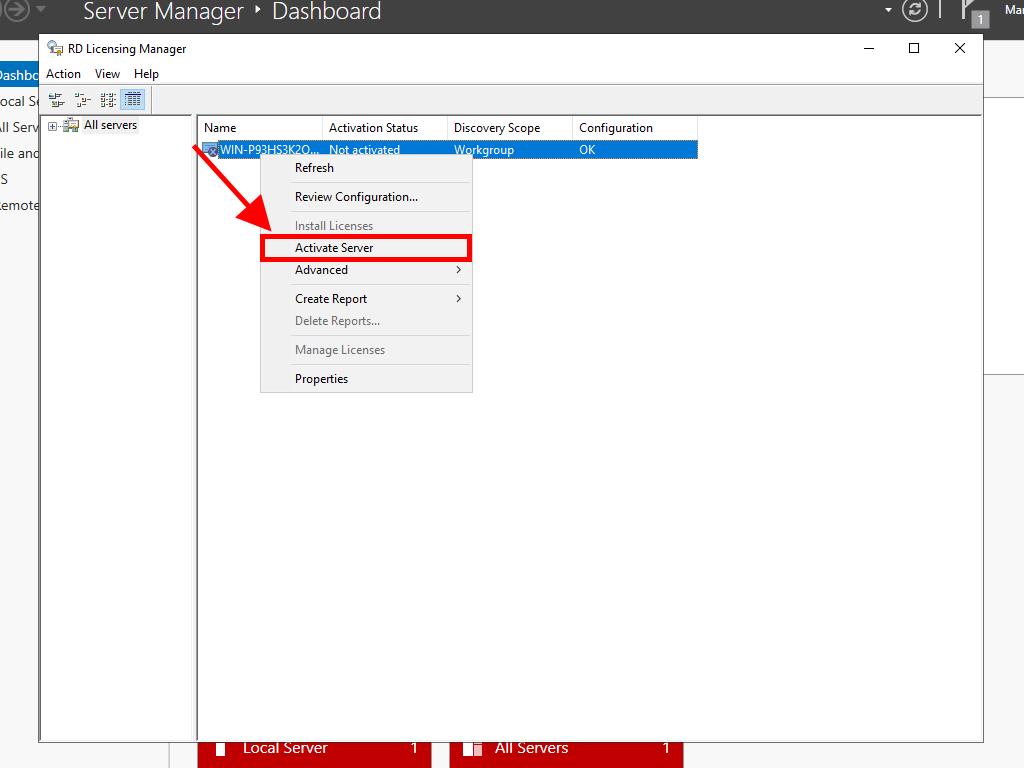
- Right-click on the server and select Activate Server.
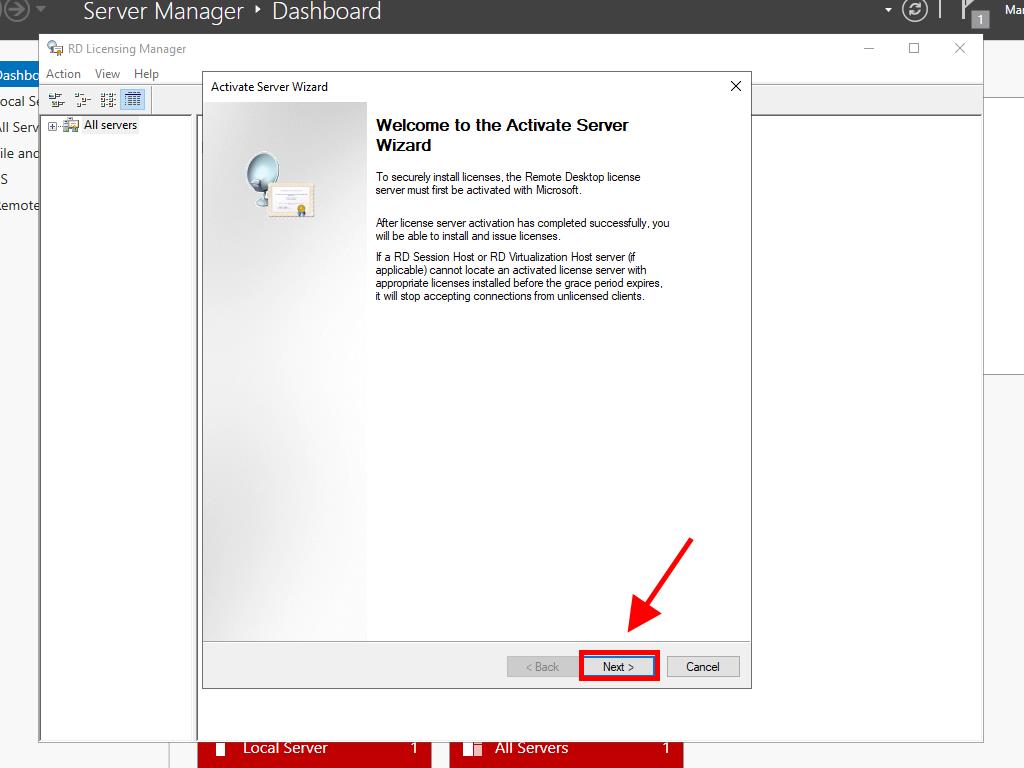
- The server activation wizard will appear. Click Next.
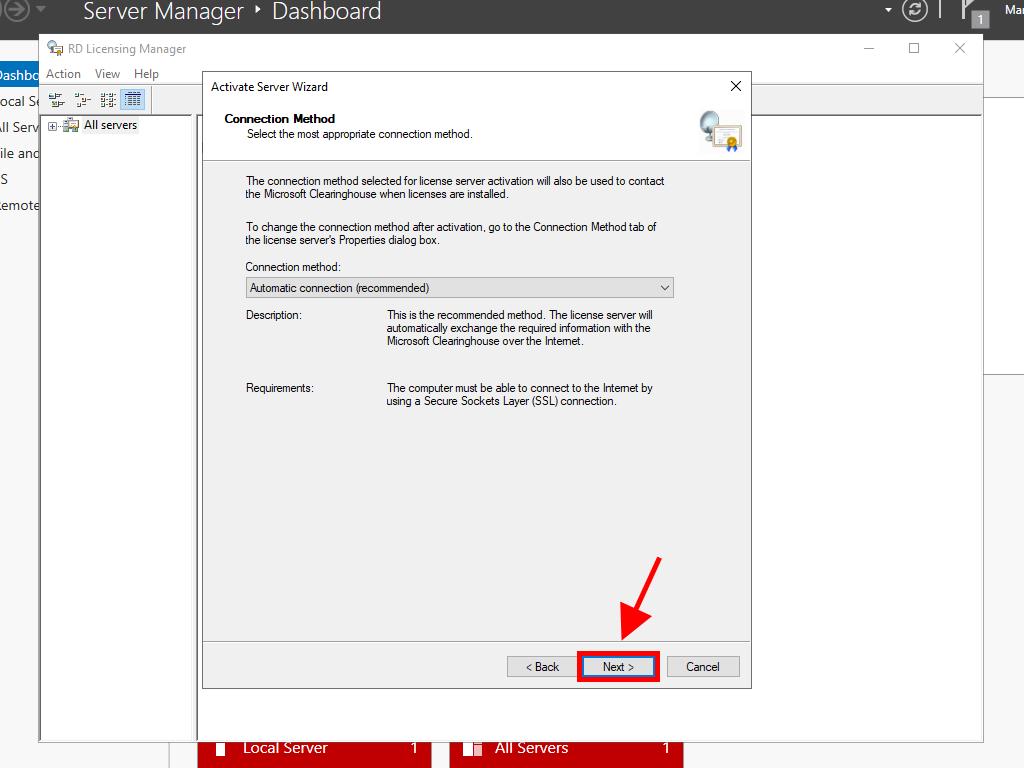
- Select the automatic connection method and click Next.
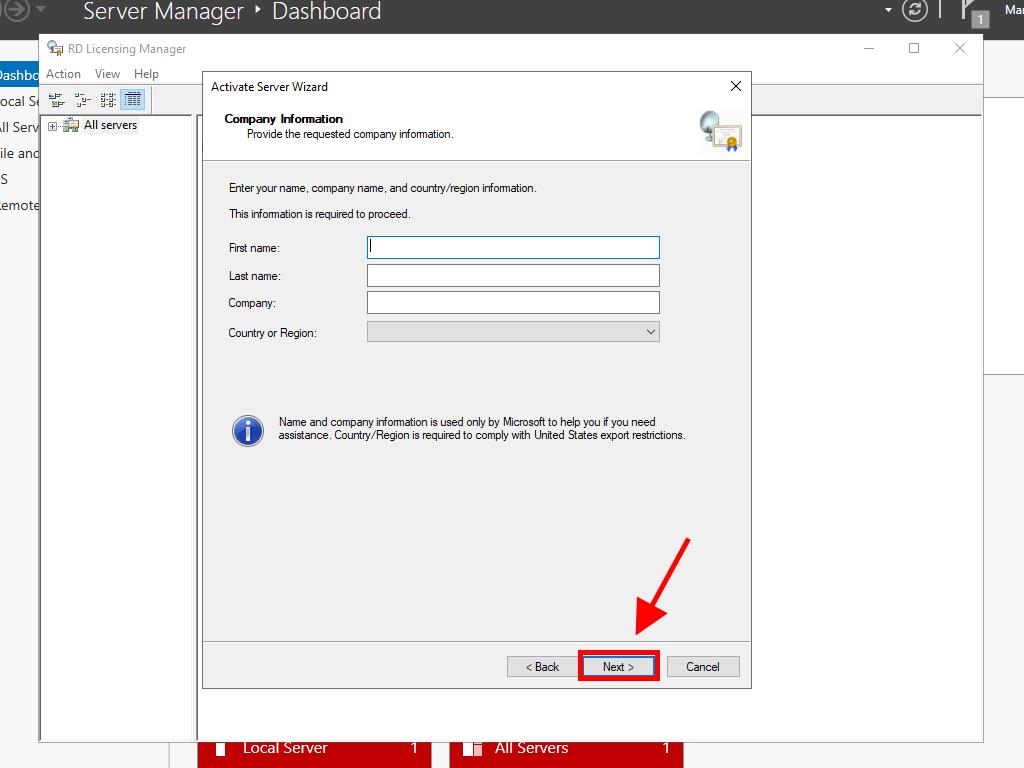
- Provide the requested details (first name, last name, region, and company name). Click Next.
- Enter the company information and click Next.
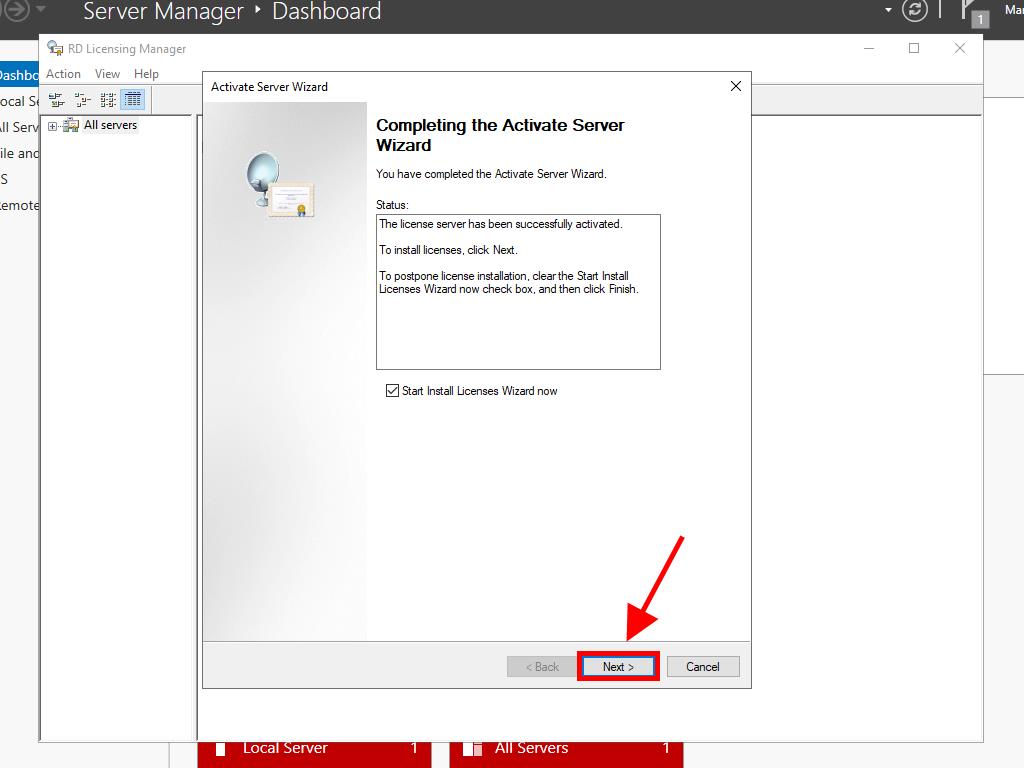
- The server activation wizard will reappear. Click Next.
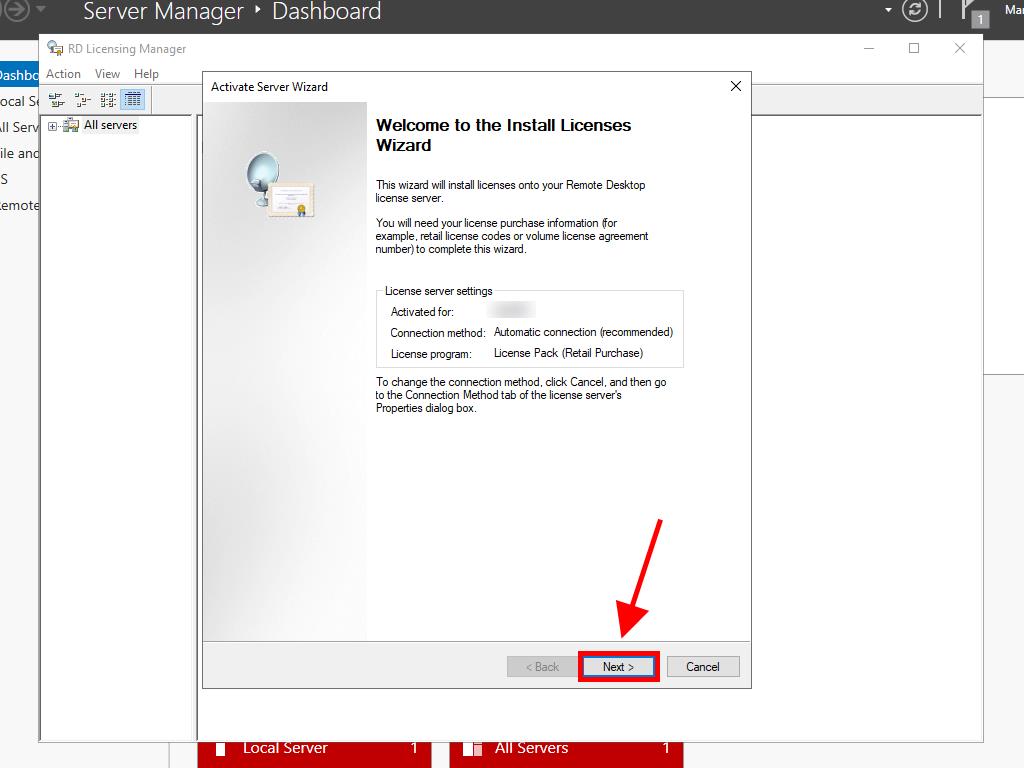
- You will get a summary of your server setup. Click Next.
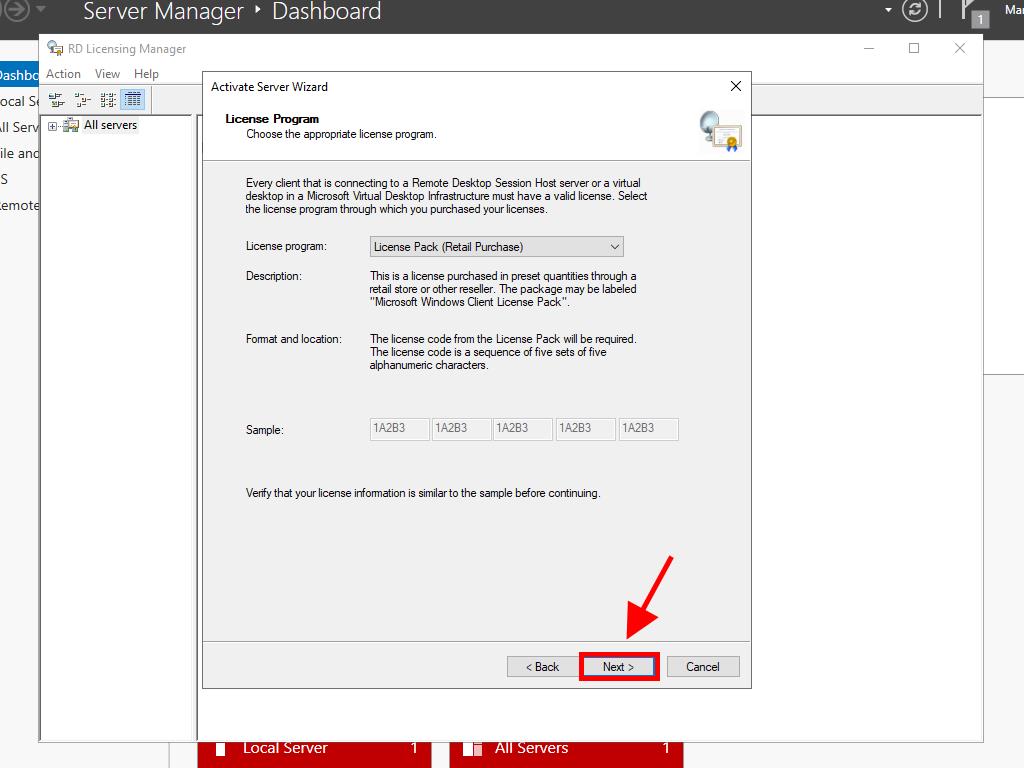
- Under License Program, select Lic. Pack. (Box or pre-packaged product). Click Next.
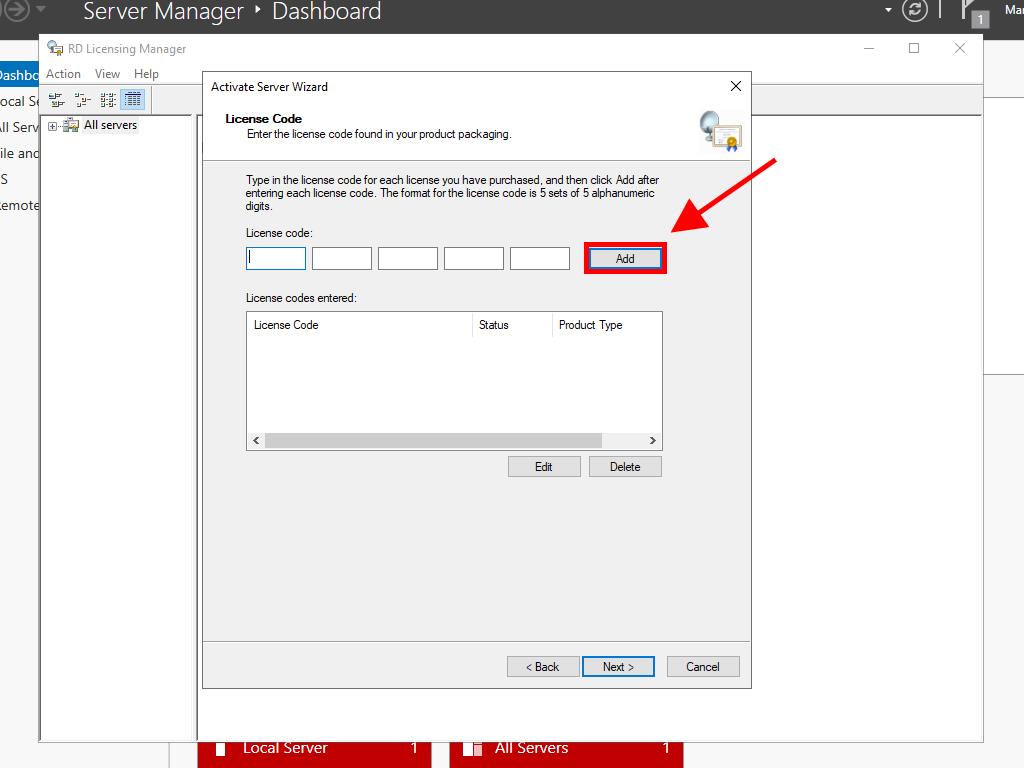
- Now, enter your RDS CALs product key and click Add.
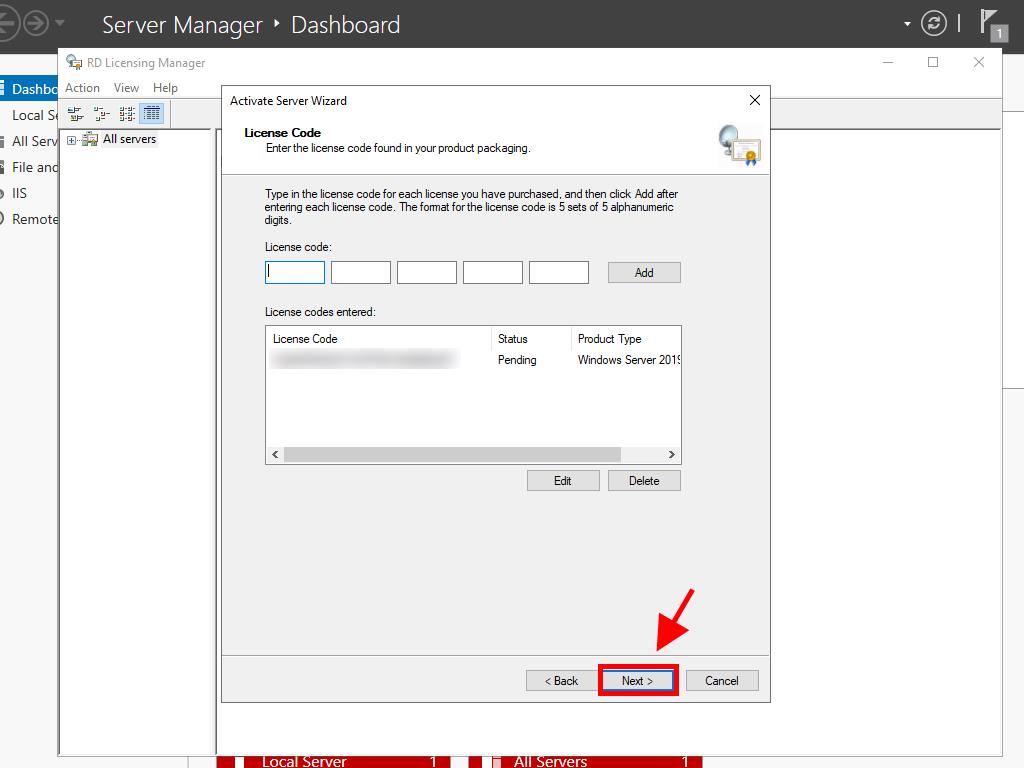
- After the license is verified, click Next.
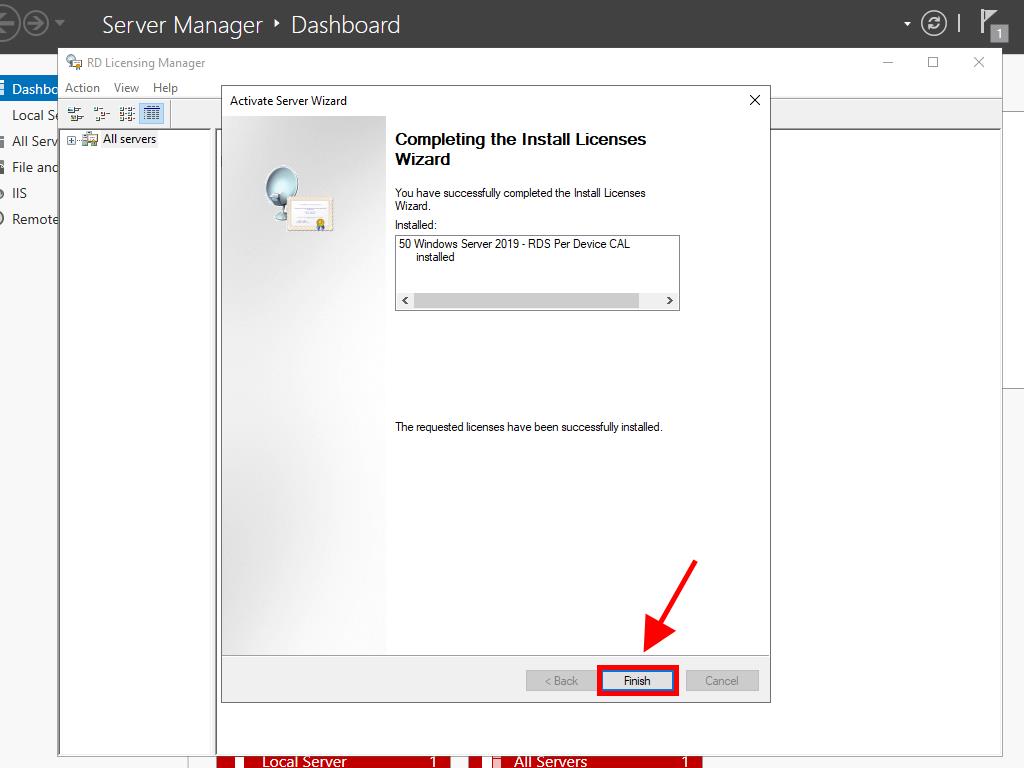
- The License Installation Wizard will confirm the successful installation. Click Finish.
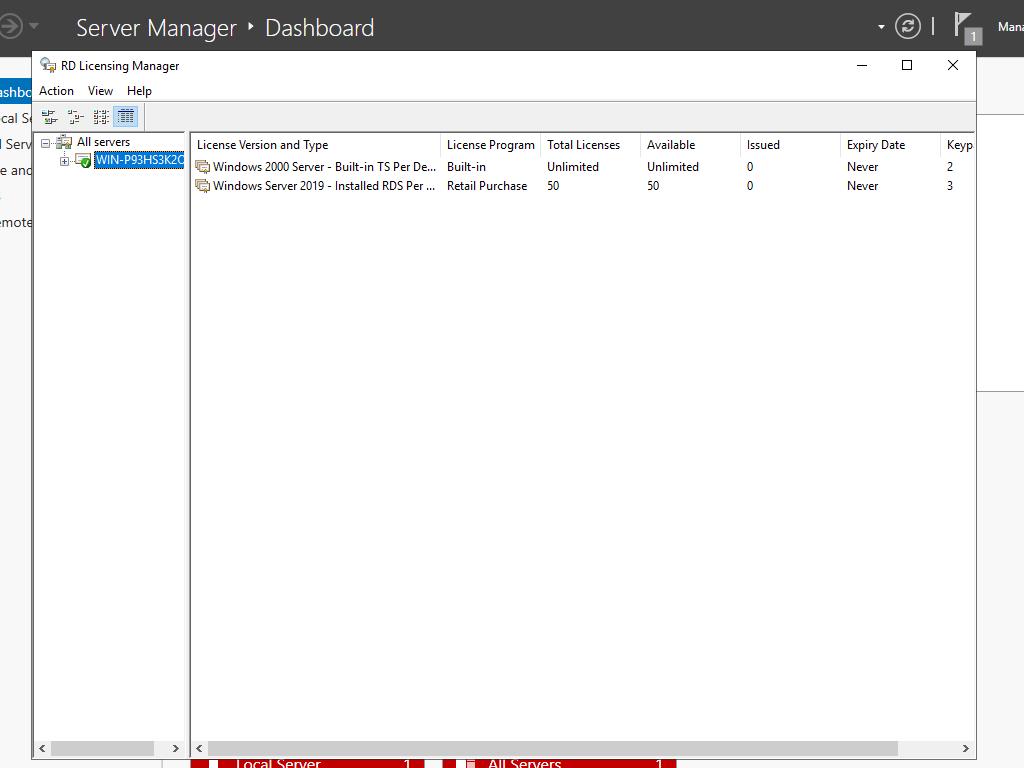
- Your licensing server is now ready to issue and manage licenses. Verify this by selecting your server's name, where you can see the available licenses and those that have been issued. Initially, this should be zero.